V Rising does not prohibit gamers to servers created particularly for the sport, permitting them to use personal dedicated servers. Players have the liberty to choose a game mode and select a server to play on. This will pit them towards others who’ve chosen the identical server, and so they can advise their buddies to be part of as effectively.
Those who need to play with a tighter circle of players can actually play their very own manner with a dedicated server. There are three surefire methods to set one up and begin a lasting V Rising server.
How to set up a dedicated V Rising server through Steam
Steam:
- Once the sport is downloaded, Steam itself can be utilized to set up a dedicated server.
- Open Steam and sort in “V Rising Dedicated Server” in the search bar.
- Install the software that seems in the search.
- Right-click on the server software after it has been downloaded. Go to Manage after which Browse Local Files.
- This will open up the folder that enables gamers to configure the server settings.
How to create a server with SteamCMD
Follow these steps after downloading it:
- Unzip the recordsdata and extract them to a folder named SteamCMD
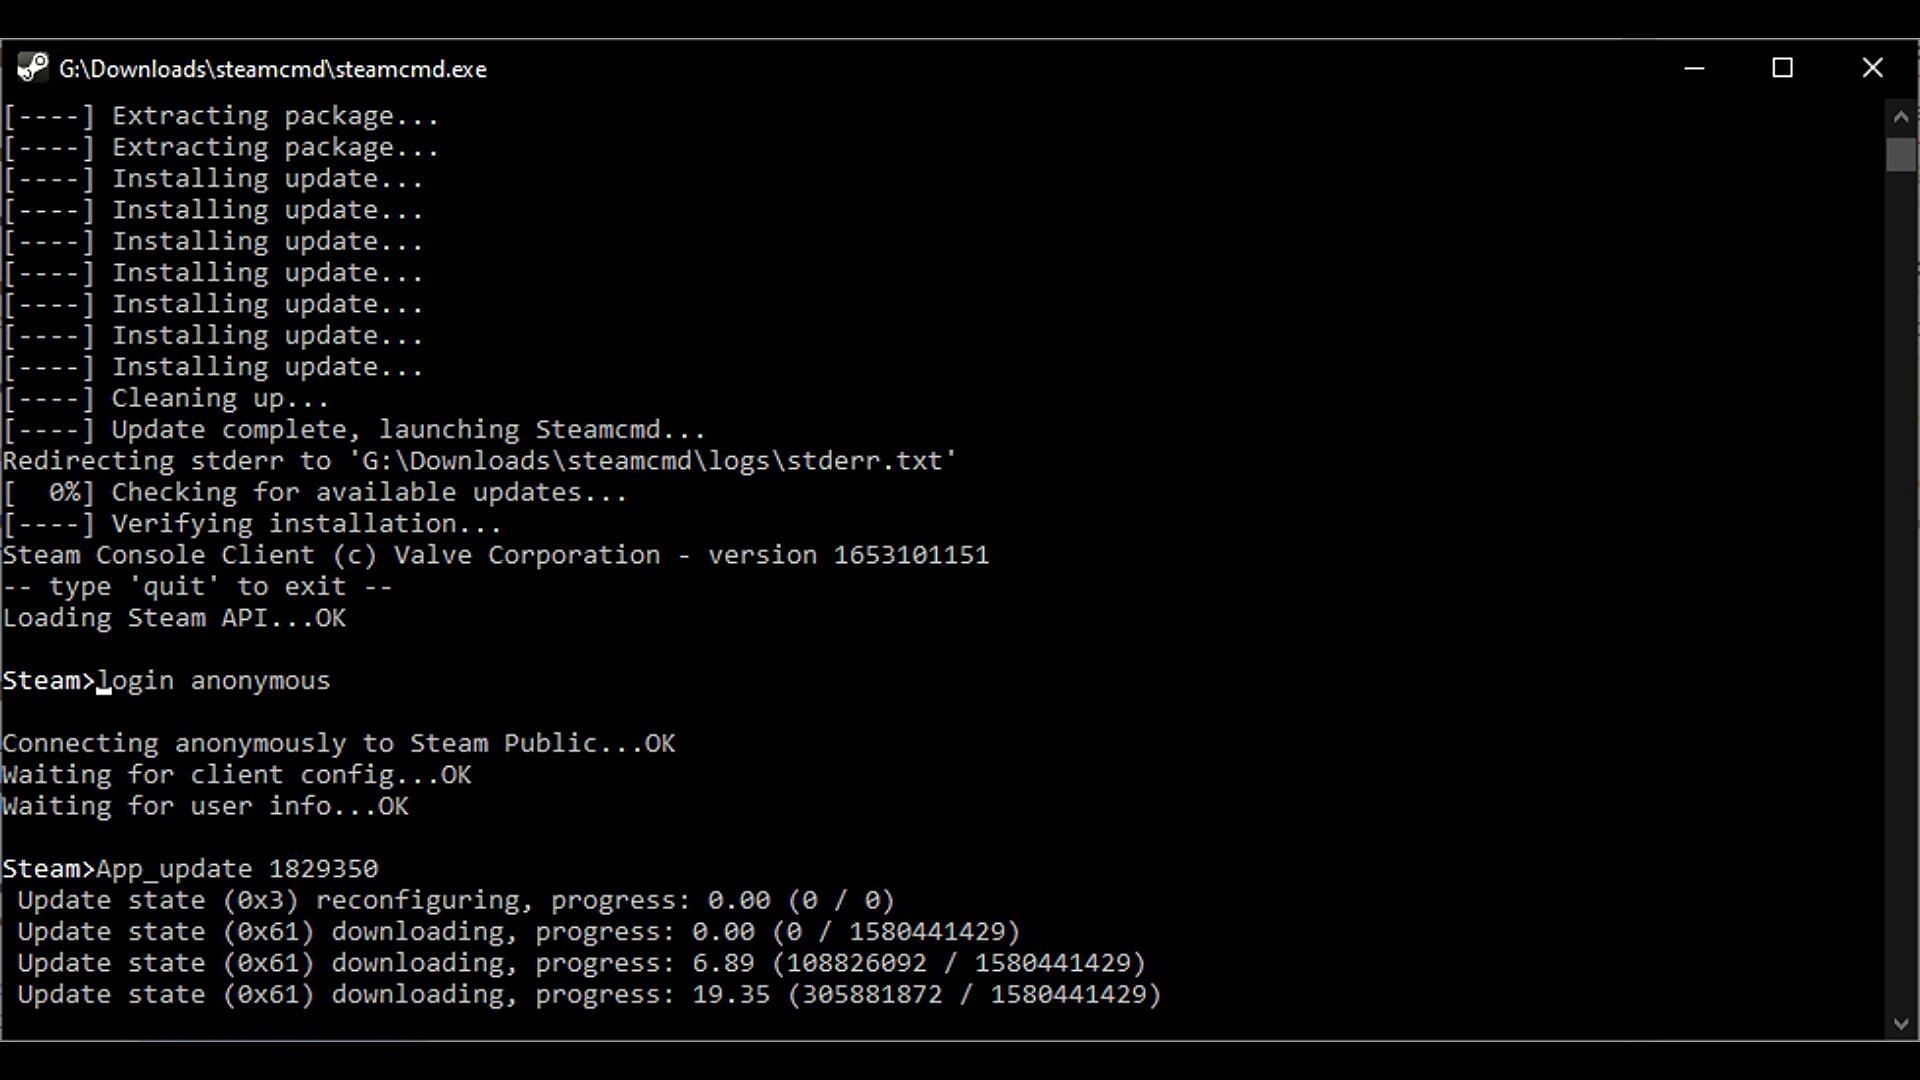
- Run the steamcmd.exe file for the startup course of to start
- Type “login nameless” into the window that pops and hit enter
- Type in “App_update 1829350” and hit enter
- Files will likely be downloaded, and gamers can hit exit afterward
- Go into the SteamCMD folder that was created and discover the VRisingDedicatedServer file by shifting by way of Steamapps/widespread to entry the server configuration.
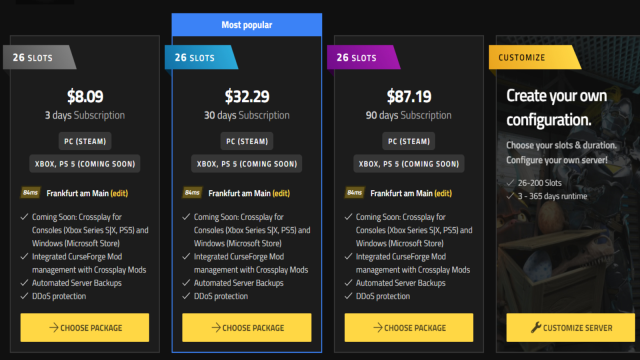
How to hire a server from GPortal

- Right-click on start_sever_example.bat and choose Edit
- In the final line of the file editor, add a server title in quotations after -serverName, and a save title file after -saveName
- Save and stop the file
- Navigate to the VRisingServer_Data/StreamingAssets/Settings folder subsequent
- Open the ServerHostSettings.json file and alter the Name and SaveName portion to the identical that was entered in the earlier file
- There is a part for a Password and a Description that may be crammed out solely to enable trusted gamers and allow them to know what they need to anticipate when becoming a member of
- Make a observe of the Port and QuestionPort numbers
- Save and exit
This is how the server is set up, with the ServerSportSettings part offering choices such as PVP and PVE availability. After this, making the server dedicated and dwell is the subsequent step.
- Turn on the server by launching the start_server_example.bat file
- When the black window seems and the traces of textual content type, the server will likely be operating
- At this level, be part of the server, create a new character, then stop the sport and shut down the server
- To shut the server off, open the file once more, click on in the black space of the window, press Ctrl+C, kind Y, and hit enter
- Access the save-data/Saves/v1/[your server’s save name] folder
- Delete each autosave folder and file right here apart from the SessionId.json file
- Type %Appdata%..LocalLowStunlock StudiosVRisingSavesv1 into the Windows Explorer bar
- Find the V Rising save folder for the server that’s scheduled to develop into dedicated
- Make a backup of the recordsdata simply to be protected, and duplicate all autosave folders into the save-data/Saves/v1/[your server’s save name] folder
- Go again to %Appdata%..LocalLowStunlock StudiosVRisingSavesv1 and duplicate the ServerSportSettings.json and ServerHostSettings.json recordsdata
- Move to %Appdata%..LocalLowStunlock StudiosVRisingServer and paste the recordsdata from the earlier step there
Go again to step one and switch the V Rising server on after all the things else has been achieved. Join the server that was created and start enjoying on the personal and dedicated server.
https://www.sportskeeda.com/esports/how-set-dedicated-server-v-rising