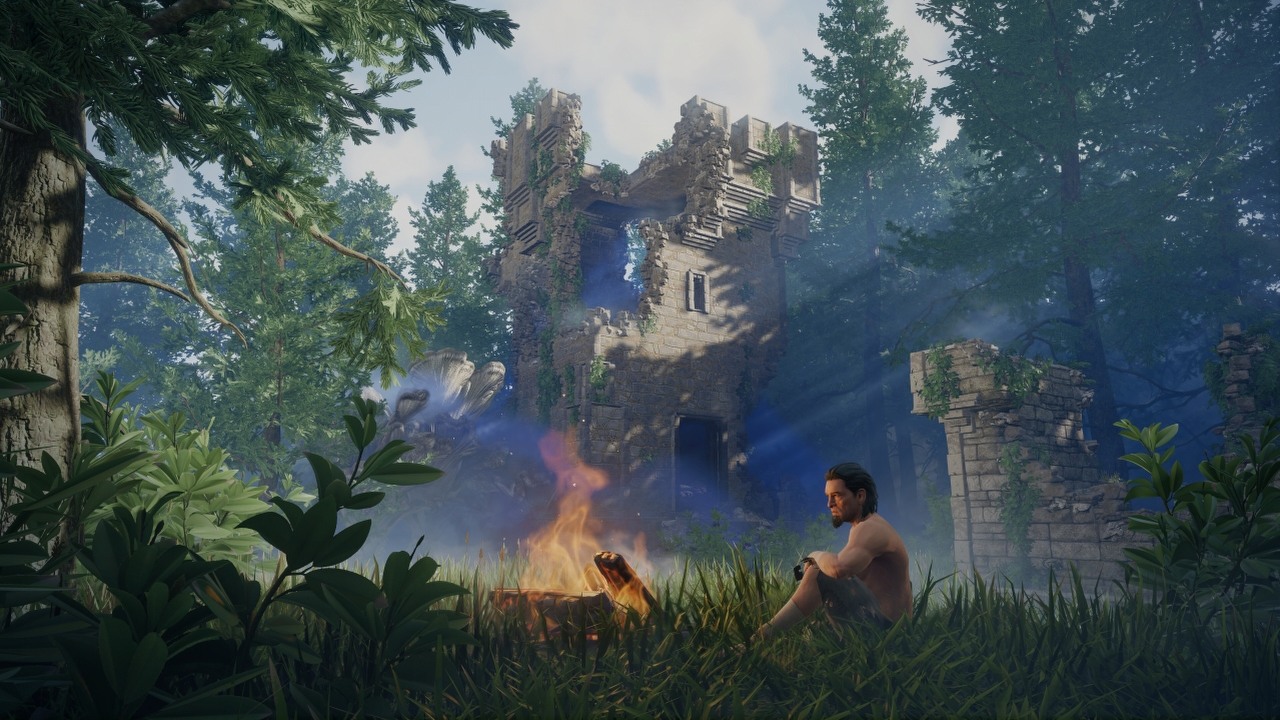
Our Abiotic Factor Server Guide will go over how to create your own self hosted or dedicated server.
Abiotic Factor supports both non-dedicated and dedicated servers. Each has their own benefits and drawbacks. Note that while your character’s appearance is shared between all servers, job choice and level progression is separate for each file.
Setting Up a Non-Dedicated Server
Non-Dedicated Servers in Abiotic Factor are simple to set-up, and can be toggled on and off freely before loading up a world. These servers will also only be available if the host is actively playing on them.
When starting up a new game, all of the non-advanced options (outside of World Name) are not set in stone. This means you can free toggle between singleplayer only or multiplayer. You can also set a different password each time — invites via the Steam Friends List are supported too.
Multiplayer on non-dedicated servers is limited to a maximum of six players, though you can go lower — as far as we’re aware, there is no difficulty scaling based on the number of players.
LAN Server can be toggle on to only have the server show up for other PCs connected in your local network. When in the server menu, LAN servers can be viewed by selecting “Switch to LAN” underneath the server list.

Sandbox Settings
Modify Sandbox Settings is where you can change certain parameters of the game, which cannot be edited once the world is created.
Most options can be used to make the game easier or harder, so adjust these as you see fit. We’d recommend increasing settings like item stack sizes and XP gain if you’re planning on playing with only one or two players.
Servers that are using modified Sandbox settings will be marked with a flash icon in the server browser. Changing the settings currently has no effect on acquiring achievements.
Dedicated Servers
You can set up a dedicated server in Abiotic Factor in two ways. Either you host one on your own machine via the Abiotic Factor Dedicated Server Tool on Steam, or you use a third-party server host like Survival Servers (affiliate link.)
Hosting it yourself is free, but requires the machine running the server tool to be on at all times (though you don’t have to actually be playing, unlike non-dedicated.)
Meanwhile, using a third-party service costs a monthly fee, but the server will be available without needing any hardware on your end.
Setting Up The Server
After installing the tool via Steam, head to its install location. Go into the AbioticFactor folder, then Binaries, and Win64. Here, create a text file named RunServer. This is where you can set some of the launch parameters, though there are a few basic ones needed to have the server run correctly.
AbioticFactorServer-Win64-Shipping.exe -log -newconsole -useperfthreads -NoAsyncLoadingThread -MaxServerPlayers=6 -PORT=7777 -QueryPort=27015 -ServerPassword= -SteamServerName=
Make sure to set SteamServerName and ServerPassword with whatever name and password you want to use (you can also adjust max players up to 24, but more than 6 is unstable), then save the file as “RunServer.bat”.
After setting that file up, go back to the AbioticFactor folder, then into Saved, SaveGames, Server. Edit the Admin.ini file to include your SteamID under the Moderators heading. Your SteamID is a string of numbers, which can be seen at the top of Steam when viewing your own profile.
Editing Dedicated Server Settings
In the server tool folder, go to AbioticFactor, Saved, Config, WindowsServer. Create a textfile with any name (make sure to add an extra line to the RunServer file you made earlier that includes -SandboxIniPath=[Config/WindowsServer/sandbox file name here.ini]), then enter in the text below to change Sandbox settings.
After you’re done, save the file and add .ini to the end.
Server Settings
- ThirstSpeedMultiplier=1.0 – Determines how quickly thirst decreases. Can be disabled by setting to 0.
- HungerSpeedMultiplier=1.0 – Determines how quickly hunger decreases. Can be disabled by setting to 0.
- ContinenceSpeedMultiplier=1.0 – Determines how quickly characters need to use a toilet. Can be disabled by setting to 0.
- FatigueSpeedMultiplier=1.0
- DetectionSpeedMultiplier=1.0
- PlayerXPGainMultiplier=1.0
- ItemStackSizeMultiplier=1.0 – Increases the amount of items that can be stacked in each inventory slot (item dependant.)
- ItemWeightMultiplier=1.0
- ItemDurabilityMultiplier=1.0
- DurabilityLossOnDeathMultiplier=0.1 – This is percentage based i.e. 0.1 – 10% durability loss on death.
- LootRespawnEnabled= true – turns item respawning on or off (separate from loot respawning in portal worlds.)
- SinkRefillRate=2.0 – Changes how quickly water will refill at non-natural water sources.
- FoodSpoilSpeedMultiplier= 1 – Changes how quickly food spoils. Can be disabled by setting to 0.
- RefrigerationEffectivenessMultiplier=0.5 – Changes how effective fridges are at slowing down food spoiling
- EnemyHealthMultiplier= 1
- EnemyPlayerDamageMultiplier= 1 – Enemy damage to players
- EnemyDeployableDamageMultiplier= 1 – Enemy damage to player made objects
- ShowDeathMessages=True
- AllowRecipeSharing=True – When true, players can share unlocked crafting recipes with players that don’t already have them.
- AllowPagers=True
- AllowTransmog=True – Allow players to modify the appearance of clothing (this doesn’t become available until later in the game even if set to true)
- DisableResearchMinigame=False – Enables or disables the minigame for unlocking a new recipe.
- DeathPenalties=1 – Determines what is lost on death. When set to 0 nothing is lost.
- GlobalRecipeUnlocks=False – When true, all players on the server unlock new recipes at the same time.
- FirstTimeStartingWeapon=0 – Determines which starting weapon a player can get. Goes up to 5, each weapon being better.
Thanks for checking out our Abiotic Factor Server Guide. Check out our other guides below!
https://techraptor.net/gaming/guides/abiotic-factor-server-guide-server-settings


