Setting up a dedicated server in Palworld is a lot easier than you might think. Thankfully, Pocketpair has created its own guide detailing how to set one up exactly and even how to control certain aspects of your server. However, for a lot of people, this may be the first dedicated server they’ve set up, and it’s not common knowledge for those with no past experience to set up said server on another computer.

Palworld: Best Pals For Transporting Items
Pals can do a lot of various tasks in Palworld, and some are very good at transporting items around for players.
So, for those of you playing this game (of which there are millions) who set up the server on the same computer you plan on playing Palworld on, it’s probably better to move things to a second setup if possible. Luckily, this process is also quite easy as long as you know what to do.
Transferring A Dedicated Server Is Not The Same As Creating One
Why Transferring Is A Bit More Involved Than The Initial Setup
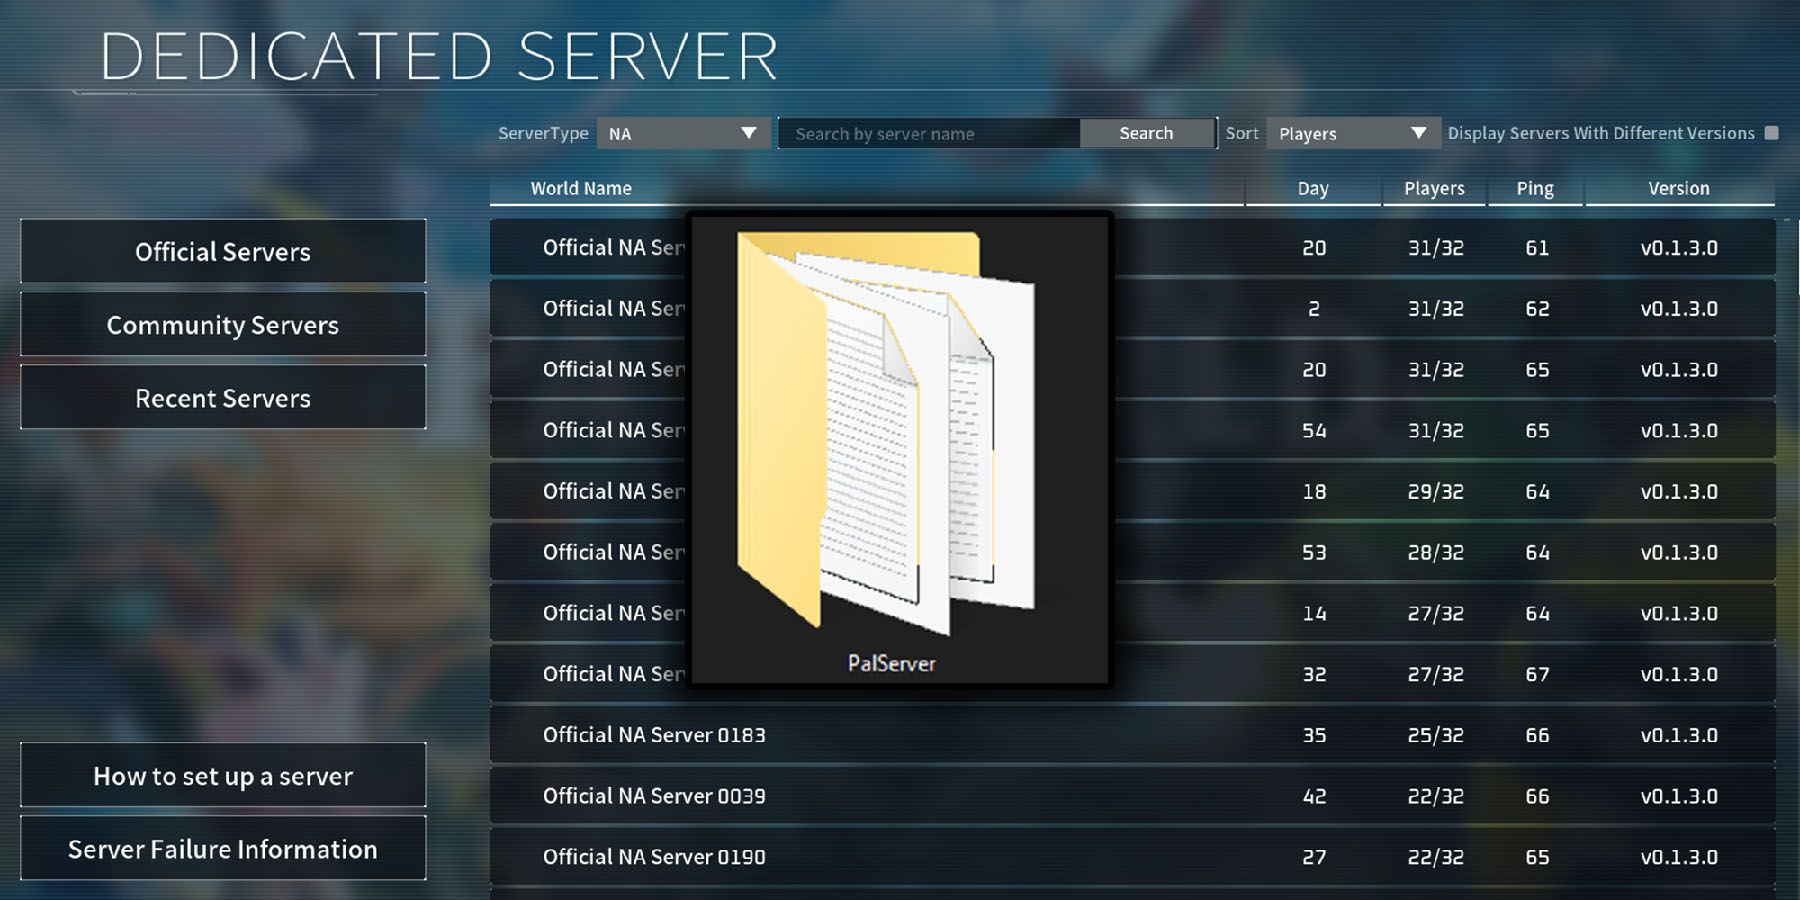
While it is relatively easy to transfer a dedicated server between computers, it’s still more complicated than setting up a dedicated server in general. The initial setup of a dedicated server in Palworld really just involves downloading the Palworld Dedicated Server tool, running it, forwarding the correct port assigned in the WorldSettings.ini file (default is 8211), and making sure to give your public IP to whoever you want to join said server (as well as the forwarded port).
The most difficult part of this process is really just finding where the WorldSettings.ini file is kept and figuring out which IP to give to your friends. Transferring a dedicated server, however, takes a bit more work, especially if you plan on changing the default port that’s forwarded, any of the World Settings, or are planning to run this server through a third-party service such as SteamCMD.
How To Transfer A Dedicated Server Between Computers
And How To Launch Palworld On One Computer & The Server On The Other
Now, it should be stated up front that this is the process that worked for us on the PC version of the game. Every setup is different and sometimes going through the same process that worked for someone else might not work for you. But, in general, here’s how we moved our dedicated server:
We’re using a dedicated server run through the Palworld Dedicated Server tool on Steam. While you can also set things up through SteamCMD or using a third-party dedicated server service, the process of moving the server while using those is a bit more complicated.
|
Step |
Explanation |
|---|---|
|
1 |
Download Palworld Dedicated Server tool on your secondary computer. |
|
2 |
Run Palworld Dedicated Server and make sure the CMD box pops up and says ‘Setting breakpad minidump AppID = 2394010’ |
|
3 |
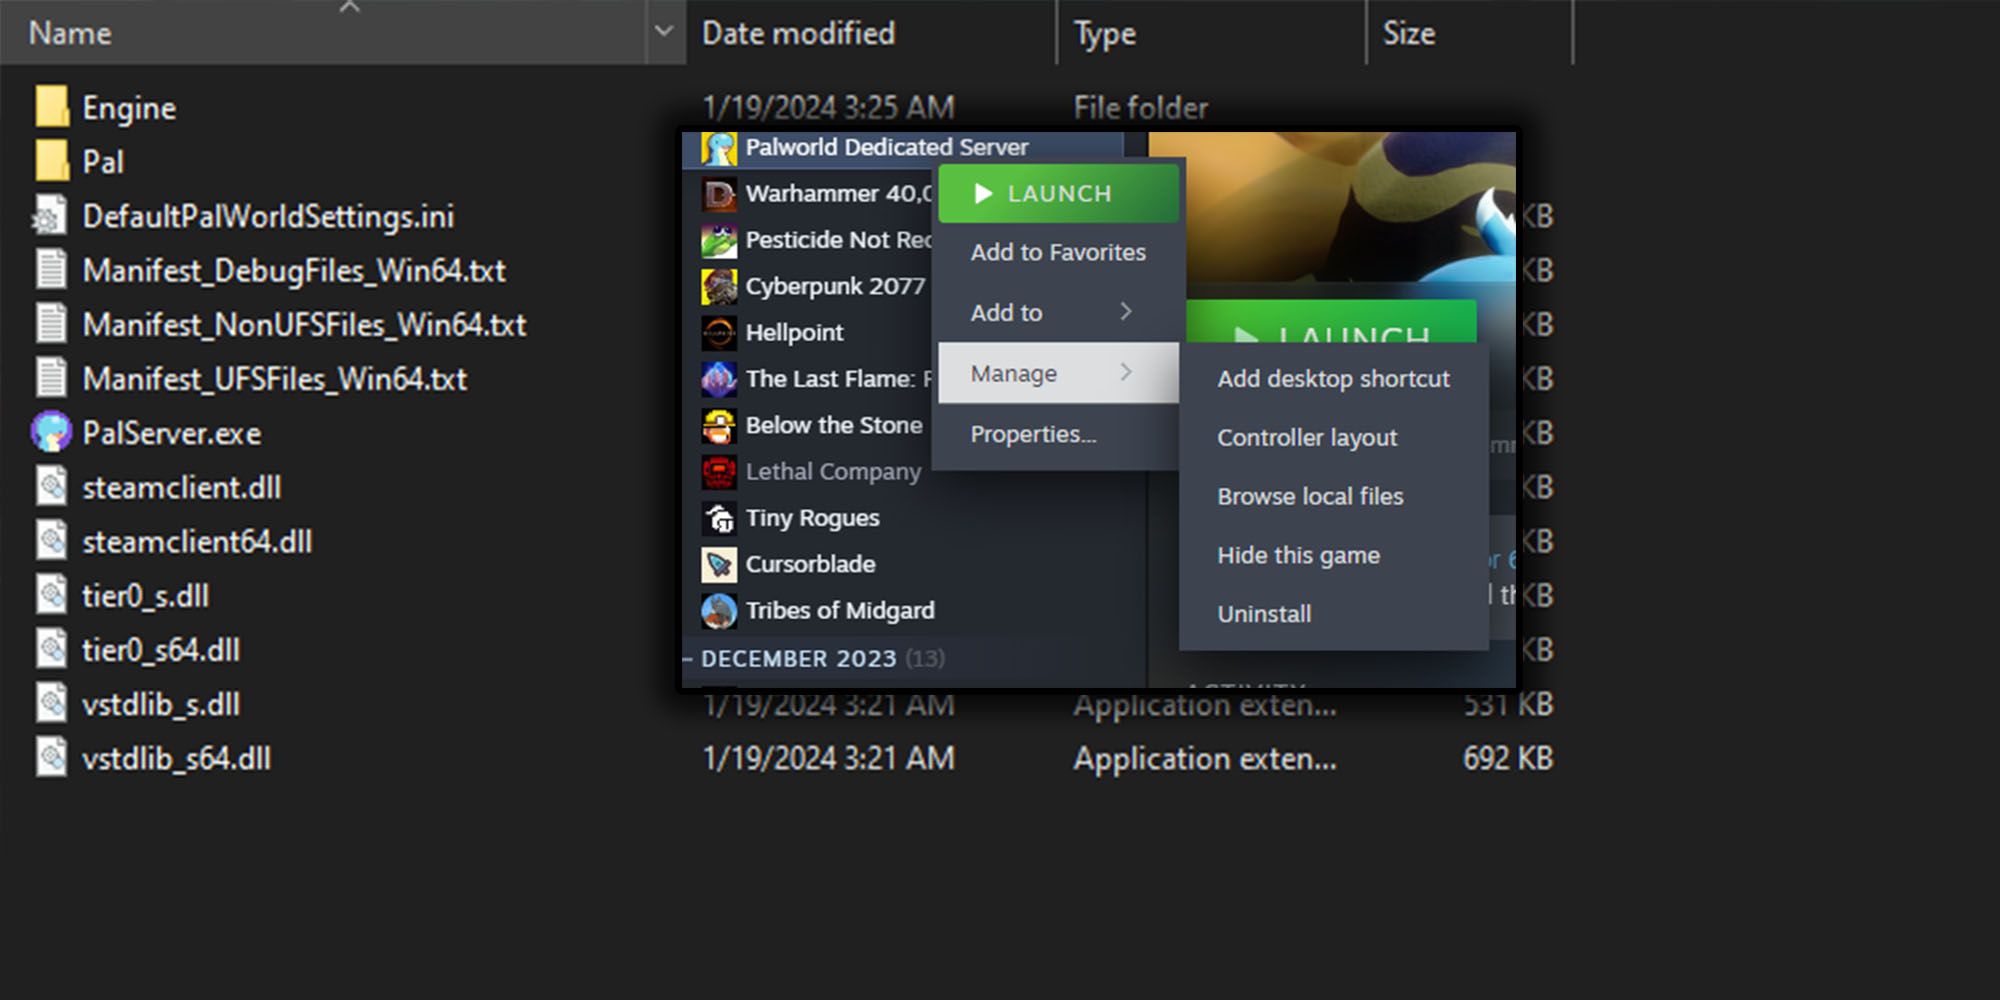
Close Palworld Dedicated Server tool and right-click on the tool in your Steam Library. |
|
4 |
In this pop-up, go to ‘Manage’ and then ‘Browse Local Files’. |
|
5 |
To avoid any issues, we just copied the entirety of the ‘PalServer’ folder and put it on a Flash Drive, but you could probably copy a more specific folder inside of PalServer and still get things working. |
|
6 |
Plug the Flash Drive into your second PC, and copy the files to the PalServer folder on the second PC (should be under /C:(or whatever drive you downloaded the tool to)/Program Files/Steam/steamapps/common/PalServer). |
|
7 |
Let the folder overwrite any files found in the PalServer folder. |
|
8 |
After this is all done, make sure to go into your router settings and Port Forward the right Port (might have to delete the Port Forward for your primary PC). |
|
9 |
Run the Dedicated Server Tool again (close it right after you make sure the breakpad line of text comes up). |
|
10 |
If both computers are on the same network, your Public IP should still be the same, meaning friends can use the same IP as before to connect. As a warning, make sure to only give this IP out to people you trust. |
|
11 |
But, if for some reason that’s not working, make sure to use any variety of tools to find your Public IPv4 (we just use something like Whatsmyip.com). |
|
12 |
Then, find the private IPv4 address for your second computer (we just open the Command Prompt and type ipconfig /all and then use the IPv4 it provides) and use that to join your own server. |
|
13 |
To run the Palworld Dedicated Server tool on one computer and Palworld on the other while both are logged into Steam, just set Steam to offline on the computer with the Dedicated Server tool on it first. Just remember if you need to ever update the tool you’ll need to go online, update it, then go offline again. |
If everything was done correctly, your server should now be on your second computer, and the world should be up and running with no issues and no lost progress. The players who had been playing on the server previously should be able to join and pick up right where they left off, and any future changes you’d like to make to the server will need to be made on the second computer.
Setting things up this way should also help the stability of the server and your own connection to it, as a dedicated server will use up a decent amount of resources (RAM, CPU, Bandwidth, etc) and now those resources won’t be taking away from the resources you’ll be using the run the game in general on your main computer.

Palworld
- Released
- January 19, 2024
- Developer(s)
- Pocket Pair, Inc.
- Publisher(s)
- Pocket Pair, Inc.
https://gamerant.com/palworld-transfer-move-dedicated-server-between-computers/


