

Guide for Enabling RV Interiors in Multiplayer on Dedicated Server in Project Zomboid.
Server Settings
To enable RV Interiors for multiplayer in a dedicated server, you need to open the server settings .ini file located at /User/Zomboid/Server and ensure that the following lines are set as shown below:
For the mod ID.

Additionally, it’s important to load the map to enable RV interiors for multiplayer. Make sure to set the custom map with the following code.

To make this work, the game will load all four maps/towns from the vanilla game along with the RV interiors chunks, instead of just one map. To add the RV interiors to your server, go to the maps folder and create a new folder named “vehicle_interior.”
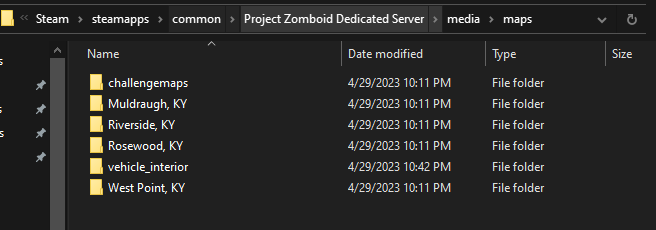
To populate the ‘map’ with the RV interiors, create a folder called ‘vehicle_interior’ inside your maps folder. Then, copy and paste the files from the workshop mod contents into this folder.
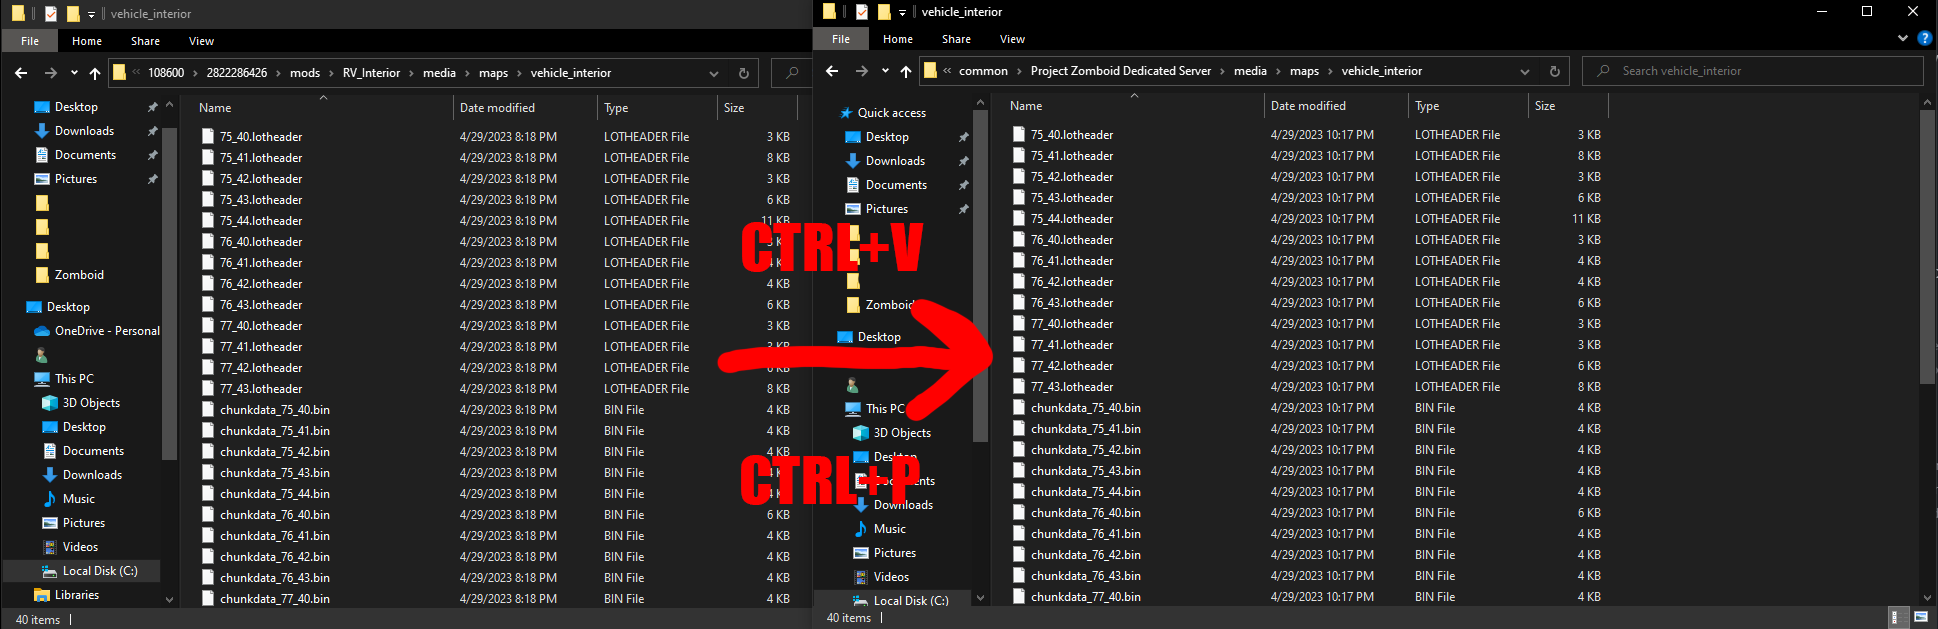
This step is the final one, and after completing it, you should be able to use RV Interiors in your multiplayer dedicated server without any issues.
https://www.gamenguides.com/how-to-make-rv-interiors-work-in-dedicated-servers-in-project-zomboid


