Minecraft is once again exploding in popularity. Thanks to Twitch streamers and YouTube creators boosting gaming trends, the platform welcomed over 17 million active players in 2022 alone.
And some of us are now looking to take our love of the game to another level. If you want to play online with friends or gain greater control over mods and plugins, the next step is to set up your own server. The good news is that it’s quick and probably easier than you think! Here’s how to do it…
What is a Minecraft server?
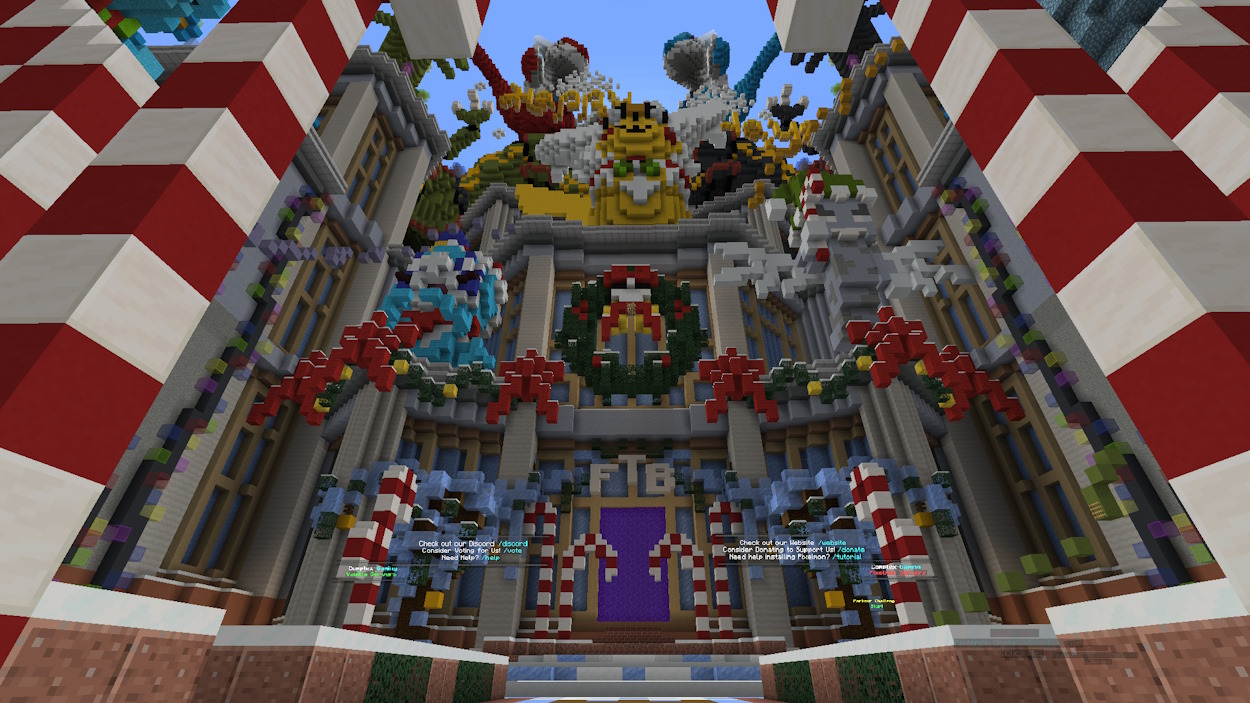
A Minecraft server is a unique online world. You can check out community creations, play minigames (like battle royale!), compete and collaborate with friends, or just hang out!
More creative players can also host and manage their own server, and invite friends or customise to their heart’s content. And that’s not all.
How to create a Minecraft server on a VPS
Want to save yourself some cash in the long run? We suggest setting up a virtual private server for Minecraft.
Just follow the steps below to create your own on a Windows machine:
1. Install Java
a. Check for Java on your computer.
b. Hit the green ‘I Agree to the Terms and Want to Continue’ button.
c. Click on the file in the download bar.
d. If you don’t have Java, or you’re using an older version, select ‘Get Java’ to automatically install the software.
2. Download the Minecraft server
a. Download the Minecraft: Java Edition server.
b. Create a new folder on your server system and run the downloaded JAR-file.
c. Open the eula.txt text file and replace ‘eula=false’ with “eula=true” to accept the end user licence agreement.
d. Click on the JAR file again to create your Minecraft server.
3. Check or assign the port
Minecraft provides the TCP-Port 25565 port by default. If you’d like to change this, follow the steps below.
a. Open the server.properties file with your favourite text editor.
b. Modify the default port numbers following ‘server-port=’.
c. If you’re on a server, you’ll need to open the port on your firewall instead.
d. Once done, your server should now be accessible online.
4. Join the server
a. Launch Minecraft and click ‘Play Multiplayer’.
b. Click the ‘Add Server’ button.
c. Assign the server a name and address.
d. Click ‘Done’ and enjoy!
ⓘ
The process above is similar for setting up a a Minecraft server on a cloud server or dedicated server.
Minecraft server requirements (minimum specs)
The following server requirements are recommended to run a Minecraft server:
|
CPU |
RAM |
# of players |
|
|---|---|---|---|
| Minimum | 1-2 cores 3.00 GHz |
2GB | 1-2 |
| Recommended | 2-4 cores 3.00 GHz |
4GB | 2-5 |
| Best | 4-6 cores 3.50 GHz |
8GB | 6+ |
ⓘ
These minimum specs can apply to both Linux and Windows servers, but Windows may need slightly more resources because it can be more system intensive.
Which server is best for Minecraft?
If you’ve decided that a dedicated Minecraft server is for you, it’s time to select a model. With a range of choices that cover dedicated servers, cloud servers, and virtual private servers (VPS), we’ve put together a few recommended models for you:
The benefits of setting up a Minecraft server
There are loads of pros to setting up your own Minecraft server…
Complete ownership
You make all the rules. You’re in complete control over who joins your world and can assign (or deny) user roles. You can even define the laws of your virtual kingdom – everything from physics to spawn rates.
Ultimate creativity
If you want to install mods for ultimate customisation, hosting a server is the way to go. In your dedicated gaming server, you can modify characters, creatures, tools, weapons, and more to enhance the experience.
Improved security
As the server admin, you’re in charge of who is and isn’t allowed in your world – no more randoms or unwanted behaviour. Plus, you can avoid the kind of DDoS attacks that take down popular servers by keeping yours updated and secure.
Minecraft Realms vs Minecraft servers
Minecraft Realms is a subscription service that allows you to create a world and play online with up to ten friends.
If you prefer to play with more people than that, or want full control over mods and plugins, consider renting a server. But it’s not the best choice for everyone – you need the right processing power, RAM, and security, not to mention a bit of technical knowledge!
Watch our Minecraft server tutorial
Our step-by-step above lays out the basic instructions on how to create your own Minecraft server. If you’re after something a bit more in-depth, check out our video guide that takes you through the process in more detail:
Getting support for your Minecraft server
If you get stuck setting up your own game server or have a technical question, don’t worry. In most cases, hosting providers have a dedicated support team that’ll help.
If you choose to use our server hosting, we have an expert support team on hand 24/7 to help you get your VPS, cloud server or dedicated server up and running.
Wanting to level up your server knowledge? We have loads of posts you might be interested in, from Why are dedicated servers better for gaming? to 10 top server security tips.
https://www.fasthosts.co.uk/blog/how-to-set-up-a-minecraft-server/


