Latest replace on by Natalia Kudryavtseva
.
Online video games are extremely well-liked these days. All of them work by way of servers that present video games with the proper connection to talk with one another. Did you realize that you may create your personal server for Counter Strike, Minecraft and many different video games? Read on to learn how to do it.
Gaming Server: What Is It?
A gaming server is a operating utility that may course of requests from a ‘consumer’, on this case, from a online game that the person has put in on his PC or sport console. Gaming servers don’t render graphics however merely transmit knowledge in order that players can benefit from the sport concurrently.
The massive videogames have many public servers. The nearer the gamer is to the place the place the server is positioned, the extra environment friendly the method is and the much less you discover the ‘lag’, that’s, the distinction in velocity that bothers you a lot if you end up in the midst of a sport.
Unlike internet servers, gaming servers are always up to date, lots of of instances per second, so that each one linked customers are synchronized always, each in picture and sound. This additionally improves the safety of all linked gadgets and the sport itself.
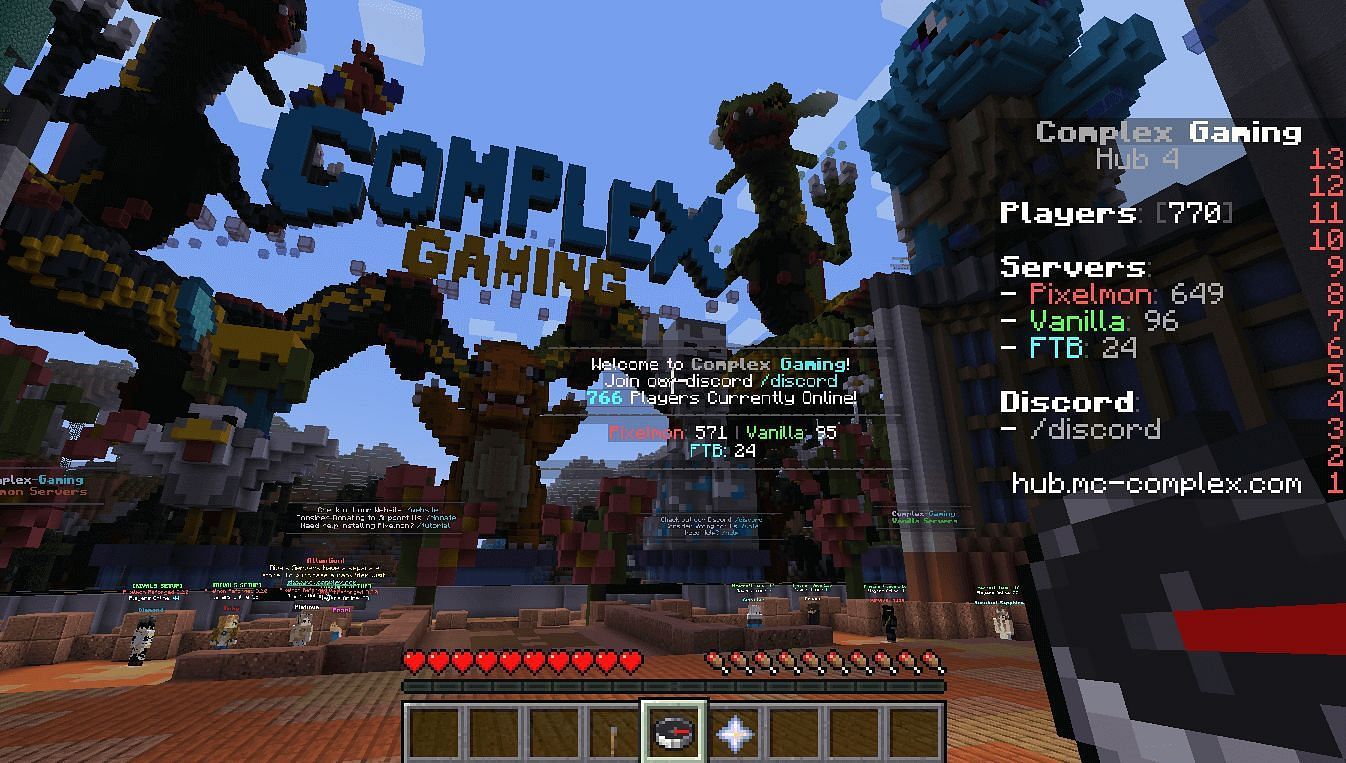
The checklist of video games that use servers and that permit gamers to create their very own is big. Among the best-known titles are Counter Strike Global Offensive, Minecraft, DayZ, Fortnite, Killing Floor, GTA 5, DOTA 2, Call of Duty, Team Fortress or PUBG, all of them with hundreds of thousands of customers taking part in always.

Create Your Gaming Server
Each sport requires a unique energy and velocity, as they modify the extent of graphics, sound high quality, the utmost variety of players and complexity of actions, amongst different components. At the time you create your personal server utilizing your laptop, it’s key to have RAM reminiscence, free house on the onerous disk, a robust microprocessor and Internet connection if you’d like every thing to work properly and different gamers can join by way of the ports you could have open.
If you need to create and configure a server for video games with many gamers, you’ll have to look for a personal supplier and hire a shared internet hosting (server) or, in any other case, your video games won’t have optimum efficiency and will probably be congested. However, in case your plan consists of making a gaming server to play with a bunch of your folks, there are kind of easy methods to get it for free: you’ll solely want to discover a good managed internet hosting supplier, verify that it’s appropriate along with your favourite sport and configure it to get the perfect expertise.
Shared Hosting
Shared internet hosting permits you to create sport servers and they’re perfect if you do not need to break your head with the configuration. Another benefit of shared internet hosting is that it automates many processes and is less complicated when putting in mods or extensions with new characters, situations and objects. The drawback of this feature is that it’s normally paid, though costs usually are not normally very excessive.
These are a few of the greatest shared internet hosting choices:
Nodecraft
Nodecraft is an easy-to-use supplier that adapts properly to every consumer’s circumstances, because it has plans which might be adjusted in accordance to your laptop’s RAM and the variety of maps you’ll be able to take pleasure in on the identical time.
Gameservers.com
Game Servers is likely one of the greatest recognized and additionally one of many least expensive suppliers. This possibility works properly for small video games, as its worth modifications in accordance to the utmost variety of gamers you’ll be able to host. Its drawback is within the safety: it has no safety in opposition to distributed assaults (DDoS).
Low.ms
Low.ms can be a very talked-about gaming server supplier within the gaming neighborhood. One of its important benefits is that it permits managed management in most video games.
How to Create a Free Server Using Your PC
If you need to lower your expenses and create your personal sport server utilizing your laptop, you must know that there are a number of methods to obtain this simply.
Large platforms normally make it a lot simpler. For instance, with the video games for Steam, you’ll be able to create your server out of your PC just by downloading SteamCMD, with which you’ll run the server your self and use it in any sport on that platform.
There are video games that supply their very own server applications for obtain. In different circumstances, it’s mandatory to comply with some particular factors that aren’t at all times fast or simple. Below, we clarify the important steps you could have to comply with to create your personal server in two important and very talked-about video games: Counter Strike and Minecraft.
Create Server on Counter Strike
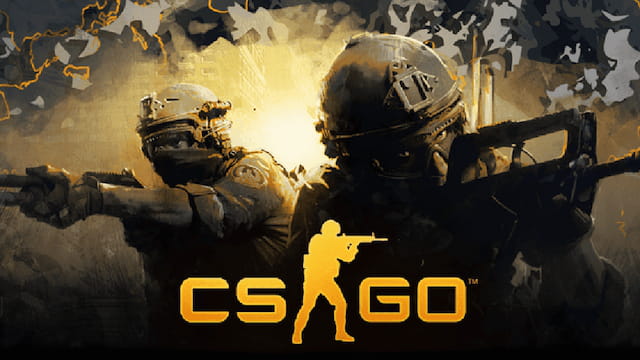
To create your personal server in Counter Strike: Global Offensive utilizing your laptop, the very first thing you want to do is to download the CS:GO Dedicated Server program.
Then you’ll have to set up SteamCMD. With SteamCMD you’ll be able to obtain the information from the server that you just want and validate them. When you register your server account, please notice that you’ll have to validate your cellphone quantity and that you just will be unable to restrict your account.
During the method, you’ll have to register and deploy your server, configure it and open the ports by way of which you need your folks to entry the sport. If you could have doubts or need to know very particular particulars (for instance, when you use Linux), you could have all of the solutions on this page for Valve developers. There one can find all the data you want at each step of organising your devoted server on Counter Strike.
Create a Server in Minecraft
With a Minecraft server in your PC you’ll be able to create a complete digital world open 24 hours a day on the Internet. In addition, it is possible for you to to set requirements and mods (extensions) of all types. The drawback when making a server in Minecraft is that there is a large distinction between how troublesome it’s to do it for free and how simple it’s to create it with cost choices.

If you are keen to spend cash to get it, you may have to use Minecraft Realms, which is accessible in two variations (one for Java and one for Bedrock Engine). This possibility permits you to create your personal server with quite simple steps and immediately by way of the Minecraft web site. If you are fascinated with it, here is a tip: you could have a 30-day free trial.
It is feasible to create a free Minecraft server in each variations of this sport (Java and Bedrock) but it surely implies, to begin with, to have your personal internet hosting. The important version is the JAVA PC model. You can comply with the steps under:
1. Make certain you could have Minecraft: Java Edition up to date in your PC and the newest model of Java put in.
2. Download the Minecraft server.
3. Create a folder in your PC to host the server (you’ll be able to create it on the Desktop immediately) and identify it no matter you need (for instance, Minecraft Server).
4. Move the server file you downloaded in step #2 to the brand new folder and open it.
5. Among the information that seem within the folder, choose the file eula.txt and look for the road that claims eula=false (press Control + F to find it rapidly): you could have to change that line and write eula=true.
6. Close the window and save the modifications.
7. Re-open the server file (new information will probably be put in and your server will grow to be lively).
8. Create a textual content doc within the server folder, identify it start_server and open the doc.
9. In that new doc, paste this within the first line:
java -Xms1024M -Xmx1024M -jar server.jar
.
10. In the identical doc, on the second line, write pause.
11. Save the doc by clicking on File > Save as… > Type > All Files. In the part to write the identify you will notice that the extension .txt is chosen: change it to the extension .bat and click on on Save.
12. Go again to the folder you created and delete the file start_server.textual content (solely the one with the extension .bat ought to stay)
Congratulations! You now have your personal server to play Minecraft with whoever you need. Inside the server.txt file you’ll be able to change traces and set the enemies or the sport mode you like, amongst different choices. If you need to open ports in your router in order that mates can enter the server, you must comply with these steps. Check your firewall settings in order that they do not trigger any issues while you play.
Photo – 123RF.com